Wednesday, May 30, 2018

Getting Back on Track


With the Circle D 4c, my expectations in 2017 were to run better than my previous 11.56 @ 125 mph pass.  So obviously, when I ran 11.50 @ 120 mph in fall air at the end of the year, I was disappointed.  With the help of my tuner finding a broken hose clamp on the boost side of my supercharger, and the switch to E85, I was looking forward to racing again in 2018.

(Testing E85 prior to running at the track)

5/18 was the first available Friday I could race.  I travel for work, so my race prep consisted of flying in to Medford on a delayed flight from Seattle, driving home, putting 5 gallons of E85 in my Mustang, and driving it straight to the track.

I lowered the car's Mickey Thompson ET drag radials to 20 psi, and made my first pass.  I was very impressed to run a 10.85 @ 129 mph.  My 60' has dropped dramatically with the converter, consistently in the 1.5X range.  Prior to the Circle D converter, I had 60' times as bad as 2.0 with the Procharger, so this is a welcome change.


After some cool down time, the car was able to run a 10.73 @ 130, and a 10.81 @ 131.  I am very impressed considering the DA that night was 3000'.


I would like to continue reducing weight from myself and the car during 2018, and tweaking the tune by working with my tuner on shiftpoints and confirming the E85 tune up is healthy.  I wouldn't be surprised if my car has another tenth or two to drop during 2018.

Saturday, February 3, 2018

The Quest for More Power v2.0 - Circle D 4c stall and Converting to E85

I have always wanted a car that required a rollbar.  I have purchased belts, a fire jacket, and even a rollcage for previous cars, and have never needed any of it.  Back in the day when the limit was 11.99, my 1982 Camaro would run consistent 12.2's.  When the limit dropped to 11.49, my 2013 Mustang GT would run 11.5's all day long.

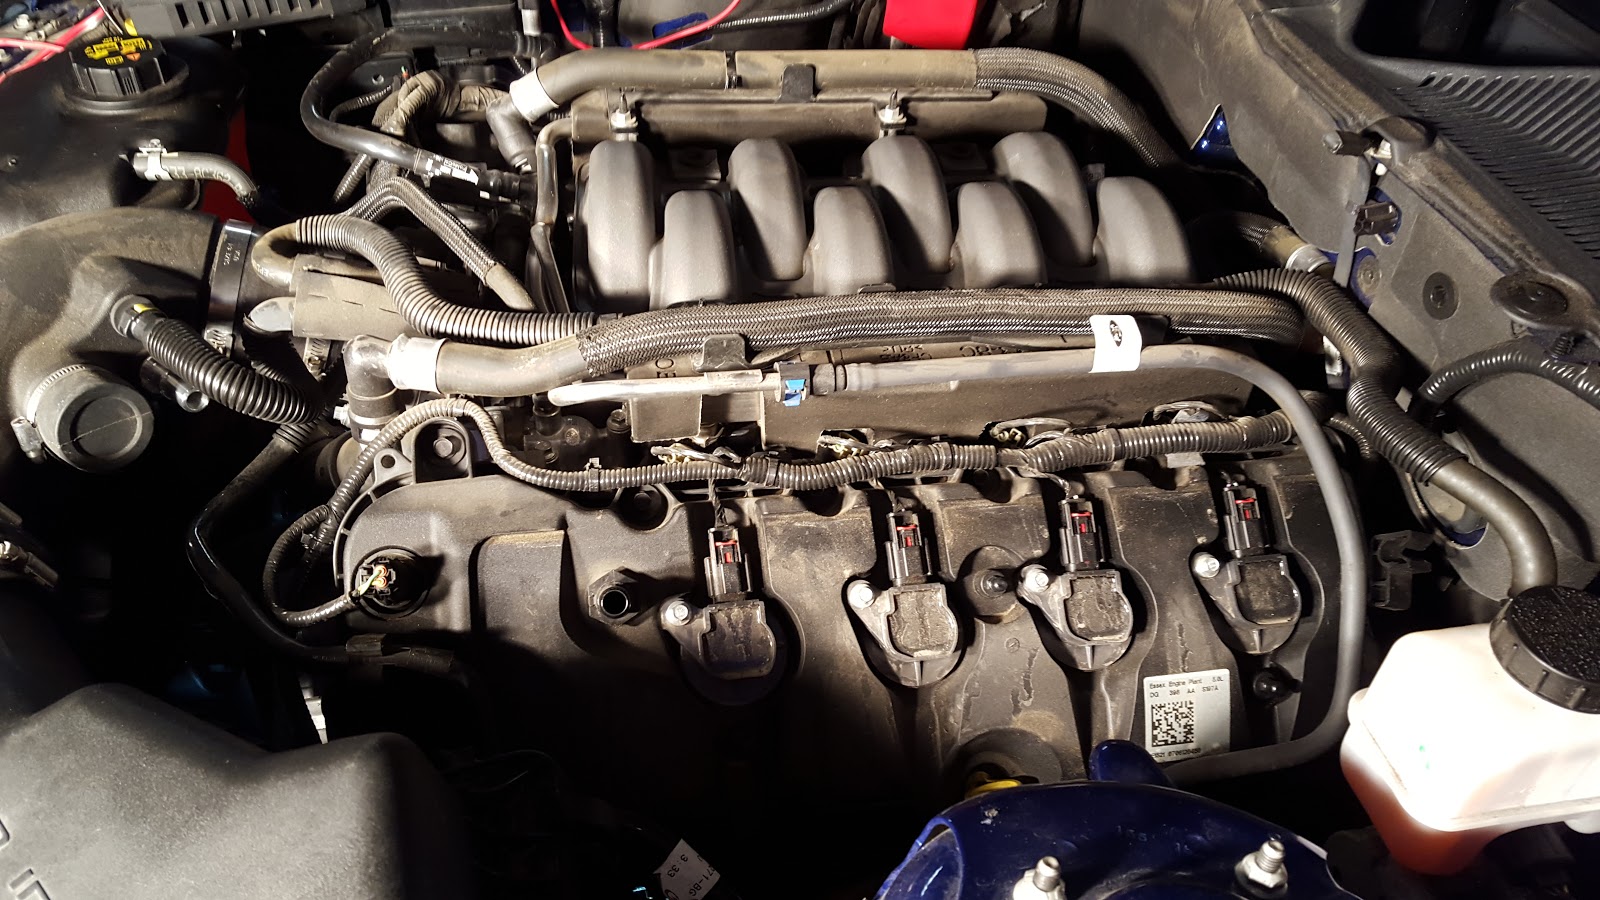
I decided to do something about it, so I purchased and installed a Circle D 4c torque converter for my car during the summer of 2017.  The install was a huge pain in the ass, don't let anyone tell you different.  However, I knew I was leaving a lot of ET on the table with my 11.56 @ 125 due to cutting nearly a 2.0 60'.  Most cars with my power cut a 60' in the 1.5 to 1.6 range, but my stock converter was causing my car to leave off of idle and out of boost.  I felt that leaving in boost would dramatically reduce my ET, and would likely put me in the low 11's or high 10's with a decent 60'.   A higher stall torque converter seemed like the answer to my issue.
(Circle D 4C converter installed and ready to rock)

So I took the car apart, pulled the transmission out, installed the torque converter, put the transmission back in, put the car back together, got the car up in the air, added transmission fluid, and was ready to race.
(To check and add transmission fluid on a 2013 Mustang, you do it in the air, running.  It's awful...)

The result was less than stellar.  I ran an 11.50 @ 120, same ET and 5+ mph slower.  The car seemed to be shifting slightly earlier, but it still seemed strange to have lost 5 mph, and gained nothing in the 1/4.  It felt like a monster on the street with the loose converter, but this did not translate at the track. By the time I was able to race it was the end of the season, and I was unable to correct my early shifts and loss of mph.
(Working hard on my car, spending money, and running slower...)

During the winter, I purchased a new pulley for my Procharger to up the boost to 9.5 PSI without consulting my tuner.  After talking with him, we determined that I was already at the limit of pump gas at 7.5 psi, and bad things would likely happen by increasing boost on 92 octane fuel.

We made the decision to sell the pulley, and convert the car to E85.  Since I was already running ID1000 injectors, the only change I needed to make was to install a boost a pump on my car.  The boost a pump of choice for my tuner is the JMS Fuelmax plug and play BAP.  I have to say, the ease of installation made it a no brainer.  It was plug and play, and came with detailed instructions.

(The JMS BAP installed in the trunk)

My friends Frank, Tyler, Mason, and I made the 12 hour round trip again, this time with an open trailer.  We have promised each other, if we make this trip again, we are not round tripping it in the same day.

(Car loaded up on the trailer.  AED tuned Frank's truck as well on this trip)

We made the trip back down to AED to perform another dyno tune, and that is when my tuner made an important discovery.  The car was missing 60+ rwhp from the previous dyno session a year earlier.  After looking at logs, my tuner discovered a broken clamp on the outlet side of the supercharger which was allowing boost to vent to the atmosphere.  Suddenly my loss of 5+ mph in the 1/4 mile made sense.  My car likely ran the 11.50 @ 120 while missing 60+ rwhp, and with a huge boost leak.

(A broken hose clamp was the culprit)

Fixing the broken hose clamp saw peak horsepower shoot up to 542 rwhp from 499 rwhp.  Switching to E85 picked up an additional 52 rwhp across the powerband.  Below is an overlay of power when we showed up with my car, vs when we left.  My tuner feels my exhaust is restricting power, and that my cats are likely maxed out.  But for now, I am very happy with the result!

(Back on the rollers at AED, love this shop)

(Making power again)

With that, it was Frank's turn to dyno tune.  I was very happy where my car landed, and am looking forward to racing in 2018.  Hopefully the added power, E85, higher stall speed converter, and a little luck will lead to some better ET's and faster MPHs in 2018.

(A must faster car than mine, you get used to these things at AED)

After Frank's truck picked up 45 rwhp on the dyno tune, we stopped at an E85 gas station on the way out of town, and loaded up on fuel.  Medford Oregon does not currently sell E85, so I filled the car, and 20 gallons of VP jugs prior to hitting the road.


Wednesday, January 11, 2017

The Quest for More Power - adding ID1000 injectors and a custom tune

Overall, I was very happy with the Procharger "canned" tune for my 2013 Mustang GT A6.  One thing to note, the Procharger Phase 2 is the only centrifugal kit I could find that included an A6 tune in the kit.  Paxton and Vortech did not offer this feature.

The car was an absolute beast on the street with the Procharger tune, with one exception.  The 47 lb/hr injectors included in the kit are undersized for the application.  To make up for this, Procharger retains the stock 6800 pm redline, meaning you fall out of the powerband on upshifts on the A6.

I contacted Shaun from AED to perform a custom dyno tune on my car, and purchased a set of ID1000 injectors from Teambeefcakeracing  Shaun would not tune anything other than ID injectors, so I went with his advice.


ID1000 Injectors awaiting installation on the car

\
My good friend Frank trailered my car down to Shaun's shop, a 10+ hour round trip from Medford

The car in the shop, awaiting dyno tuning


The car initially put down 542 horsepower @ 6875 rpm and 431 ft lbs @ 5575 rpm, very peaky.


After dyno tuning, the car put down 561 horsepower @ 6975 rpm and 453 ft lbs @ 5500 rpm.  More impressive, the car gained an additional 1,000 rpm of powerband, made huge gains under the curve, and now makes 100 more ft lbs of torque on the 1-2 upshift due to the increase in powerband.


Overall I am very happy with Shaun's work, the car is insane to drive on the street now.  At the track, my previous best at 3800' DA was 12.0 @ 118 mph.  With Shaun's tune, the car has gone 11.56 @ 125, gaining 7 mph and dropping 5 tenths in the 1/4 mile.  Altitude corrected, this puts the car in the low 11's at nearly 130 mph.  Pretty cool!

Wednesday, January 4, 2017

LCA Relocation Bracket Install


Gaining Traction After Lowering the Car - LCA Relocation Brackets Did the Trick

After lowering my 2013 Mustang GT, I realized that the car is capable of spinning the tires in 1st gear at any speed.  Prior to lowering, this was not an issue.


I wound up choose Whiteline LCA relocation brackets, based on feedback on forums.  They are reasonably priced, and made a big difference in traction.


Here are the brackets with the installation hardware provided.


Although ground clearance looks to be an issue, since the relocation brackets are inline with the rear wheels, it does not pose a problem.


Procharging my 2013 Mustang GT

After evaluating different options for modding my 2013 Mustang GT, it became clear that forced induction would provide the best bang for the buck.


Engine cover removed, "before" pic
Front clip removed, making progress

While the front clip was removed, I added a GT500 upper and lower grille to improve cooling/airflow


Added a Roush gauge pod with an Autometer boost gauge.  I went with the 0-15 psi gauge.

Coils exposed, prior to the install I swapped to 1 step colder NGK plugs
Old plugs removed and numbered, going with 7.5 psi of boost I wound up going 1 step colder on the spark plugs.

Procharger P1SC, still in the box

Procharger neatly labels each package in the box.  Each package corresponds to a different step in the install process, pretty awesome.

Procharger provides color instructions, which make the install much easier.


The finished product, you can see the new coolant degas tank provided in the Procharger kit


Finished adding 200+ horsepower with a simple bolt on!  


Thursday, May 14, 2015

2013 Mustang GT - Lowering with SR Performance Springs and Adjustable Panhard Bar

The 2011-2013 Mustang GT comes from the factory with a lot of wheel gap.  I set out to fix this by installing a set of SR Performance lowering springs from www.americanmuscle.com

Look at all that wheel gap...


I snagged these on Cyber Monday for $99, and wound up getting an adjustable panhard bar for Christmas.

I tackled the back of the car first, as it seemed the easiest.


After debating where to place the jack stands (and jack), I found this handy diagram of a 2011-2014 Mustang GT with proper jack stand, jack, and lifting positions.

The adjustable panhard bar and SR lowering springs, prior to installation


The sway bar end links are one of many items that must be unbolted in order to successfully complete the install. 

The stock spring prior to removal, notice the pigtail at the bottom of the coil pointing to the rear of the car.

The Old vs the New - Shown above you can see the height difference between the two springs

The SR Performance spring dropped into place

Another shot of the driver's side rear spring

 When installing the panhard bad, I made the mistake of just spinning one side in order to get the initial length right.  This took away all of my adjustment when I went to center the rearend.

Pre-drop, you can see just under 30" to the top of the wheel well.  Look at all of that wheel gap!


Post-drop height - The car should settle more after being driven, you can see roughly 1 1/2" of drop so far.  I used a plumb bob to check the centering of the rearend, and found that lowering the car had adjusted the rearend about 1/2" to the driver's side of the car.  I was able to correct this with the adjustable panhard bar.


Here you can see, after removing the panhard bar and correctly adjusting it, I now can adjust the centering of the rearend.  The rearend ends up getting adjusted with the car on the ground, and the body of the car actually shifts instead of the rearend, which is opposite of what most think.  Also, be sure to use loctite on the nuts, so they do not back off.

Post drop - Much better!

Now on to the front of the car.  The front is a lot more involved, as you cannot simply remove the springs like you can in the rear.  The front springs must be compressed and removed, either with a spring compressor, or the weight of the car and a jack.  Personally, I am not a fan of spring compressors, and chose to use latter method.

Pre-drop height

Wheel Off, now the fun begins

Removing the strut bolts to begin the process

Another shot

One of the many challenges nobody talks about, you either need to use an impact, or a specialty nut to successfully back the strut nut, and remove it.  You simply cannot get a wrench or a crow's foot on the strut nut as pictured.

Out with the old, in with the new


The front suspension, torn apart

The SR Performance lowering spring installed on the passenger side

(The Finished Product)