Look at all that wheel gap...
I snagged these on Cyber Monday for $99, and wound up getting an adjustable panhard bar for Christmas.
I tackled the back of the car first, as it seemed the easiest.
After debating where to place the jack stands (and jack), I found this handy diagram of a 2011-2014 Mustang GT with proper jack stand, jack, and lifting positions.
The adjustable panhard bar and SR lowering springs, prior to installation
The sway bar end links are one of many items that must be unbolted in order to successfully complete the install.
The stock spring prior to removal, notice the pigtail at the bottom of the coil pointing to the rear of the car.
The Old vs the New - Shown above you can see the height difference between the two springs
The SR Performance spring dropped into place
Another shot of the driver's side rear spring
When installing the panhard bad, I made the mistake of just spinning one side in order to get the initial length right. This took away all of my adjustment when I went to center the rearend.
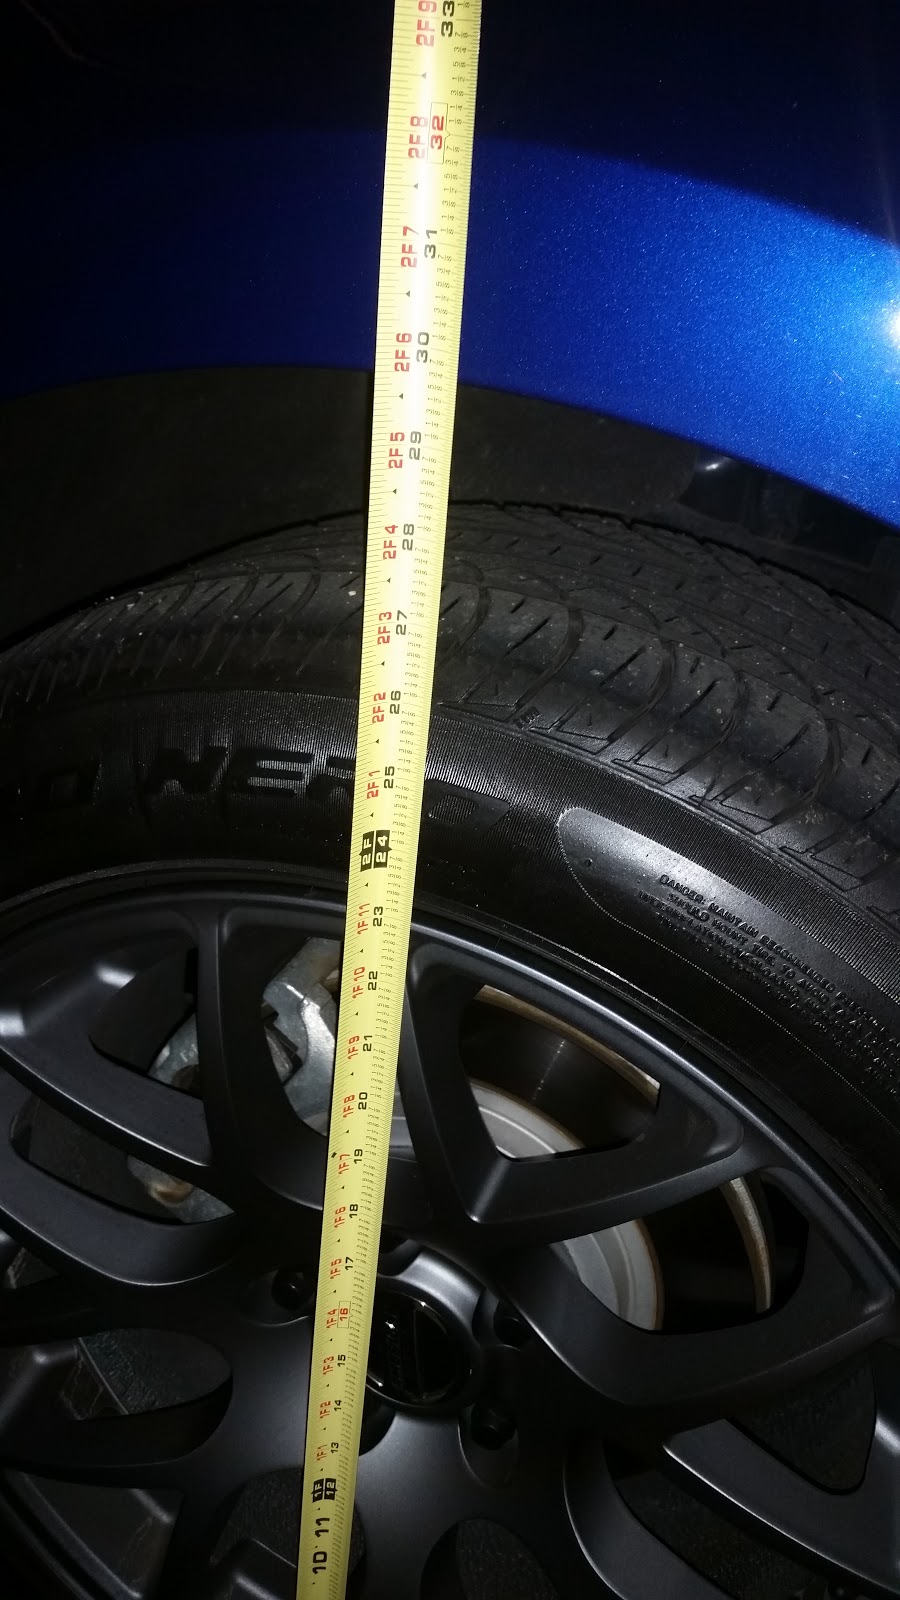
Pre-drop, you can see just under 30" to the top of the wheel well. Look at all of that wheel gap!
Post-drop height - The car should settle more after being driven, you can see roughly 1 1/2" of drop so far. I used a plumb bob to check the centering of the rearend, and found that lowering the car had adjusted the rearend about 1/2" to the driver's side of the car. I was able to correct this with the adjustable panhard bar.
Here you can see, after removing the panhard bar and correctly adjusting it, I now can adjust the centering of the rearend. The rearend ends up getting adjusted with the car on the ground, and the body of the car actually shifts instead of the rearend, which is opposite of what most think. Also, be sure to use loctite on the nuts, so they do not back off.
Post drop - Much better!
Now on to the front of the car. The front is a lot more involved, as you cannot simply remove the springs like you can in the rear. The front springs must be compressed and removed, either with a spring compressor, or the weight of the car and a jack. Personally, I am not a fan of spring compressors, and chose to use latter method.
Pre-drop height
Wheel Off, now the fun begins
Removing the strut bolts to begin the process
Another shot
One of the many challenges nobody talks about, you either need to use an impact, or a specialty nut to successfully back the strut nut, and remove it. You simply cannot get a wrench or a crow's foot on the strut nut as pictured.
Out with the old, in with the new
The front suspension, torn apart
The SR Performance lowering spring installed on the passenger side
(The Finished Product)


No comments:
Post a Comment