Wednesday, January 4, 2017

Procharging my 2013 Mustang GT

After evaluating different options for modding my 2013 Mustang GT, it became clear that forced induction would provide the best bang for the buck.


Engine cover removed, "before" pic
Front clip removed, making progress

While the front clip was removed, I added a GT500 upper and lower grille to improve cooling/airflow


Added a Roush gauge pod with an Autometer boost gauge.  I went with the 0-15 psi gauge.

Coils exposed, prior to the install I swapped to 1 step colder NGK plugs
Old plugs removed and numbered, going with 7.5 psi of boost I wound up going 1 step colder on the spark plugs.

Procharger P1SC, still in the box

Procharger neatly labels each package in the box.  Each package corresponds to a different step in the install process, pretty awesome.

Procharger provides color instructions, which make the install much easier.


The finished product, you can see the new coolant degas tank provided in the Procharger kit


Finished adding 200+ horsepower with a simple bolt on!  


Thursday, May 14, 2015

2013 Mustang GT - Lowering with SR Performance Springs and Adjustable Panhard Bar

The 2011-2013 Mustang GT comes from the factory with a lot of wheel gap.  I set out to fix this by installing a set of SR Performance lowering springs from www.americanmuscle.com

Look at all that wheel gap...


I snagged these on Cyber Monday for $99, and wound up getting an adjustable panhard bar for Christmas.

I tackled the back of the car first, as it seemed the easiest.


After debating where to place the jack stands (and jack), I found this handy diagram of a 2011-2014 Mustang GT with proper jack stand, jack, and lifting positions.

The adjustable panhard bar and SR lowering springs, prior to installation


The sway bar end links are one of many items that must be unbolted in order to successfully complete the install. 

The stock spring prior to removal, notice the pigtail at the bottom of the coil pointing to the rear of the car.

The Old vs the New - Shown above you can see the height difference between the two springs

The SR Performance spring dropped into place

Another shot of the driver's side rear spring

 When installing the panhard bad, I made the mistake of just spinning one side in order to get the initial length right.  This took away all of my adjustment when I went to center the rearend.

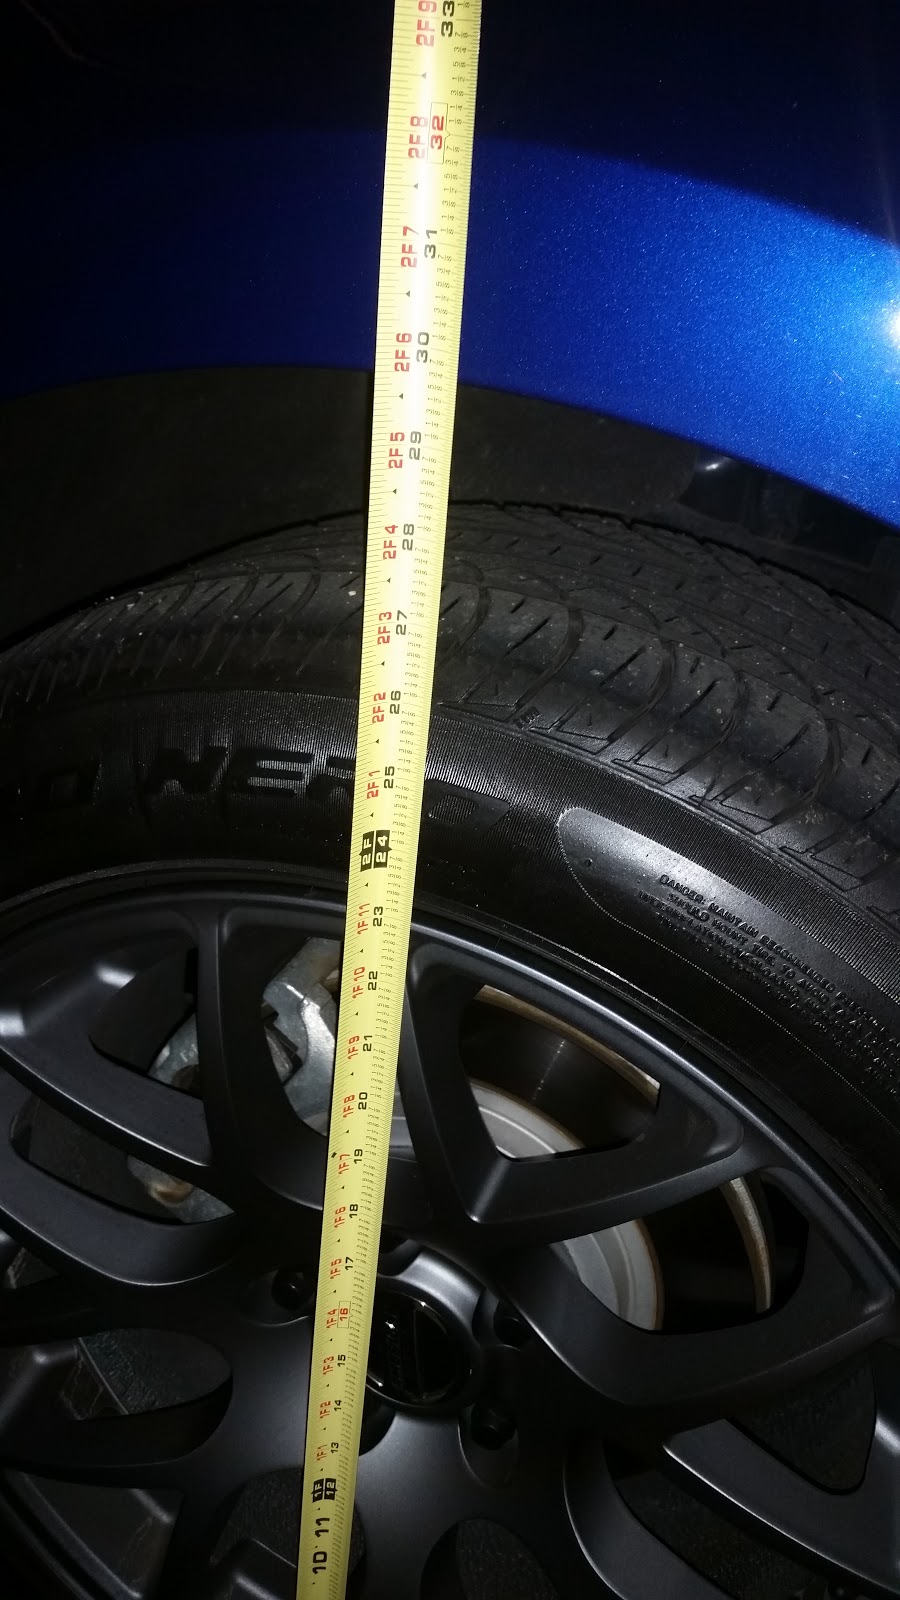
Pre-drop, you can see just under 30" to the top of the wheel well.  Look at all of that wheel gap!


Post-drop height - The car should settle more after being driven, you can see roughly 1 1/2" of drop so far.  I used a plumb bob to check the centering of the rearend, and found that lowering the car had adjusted the rearend about 1/2" to the driver's side of the car.  I was able to correct this with the adjustable panhard bar.


Here you can see, after removing the panhard bar and correctly adjusting it, I now can adjust the centering of the rearend.  The rearend ends up getting adjusted with the car on the ground, and the body of the car actually shifts instead of the rearend, which is opposite of what most think.  Also, be sure to use loctite on the nuts, so they do not back off.

Post drop - Much better!

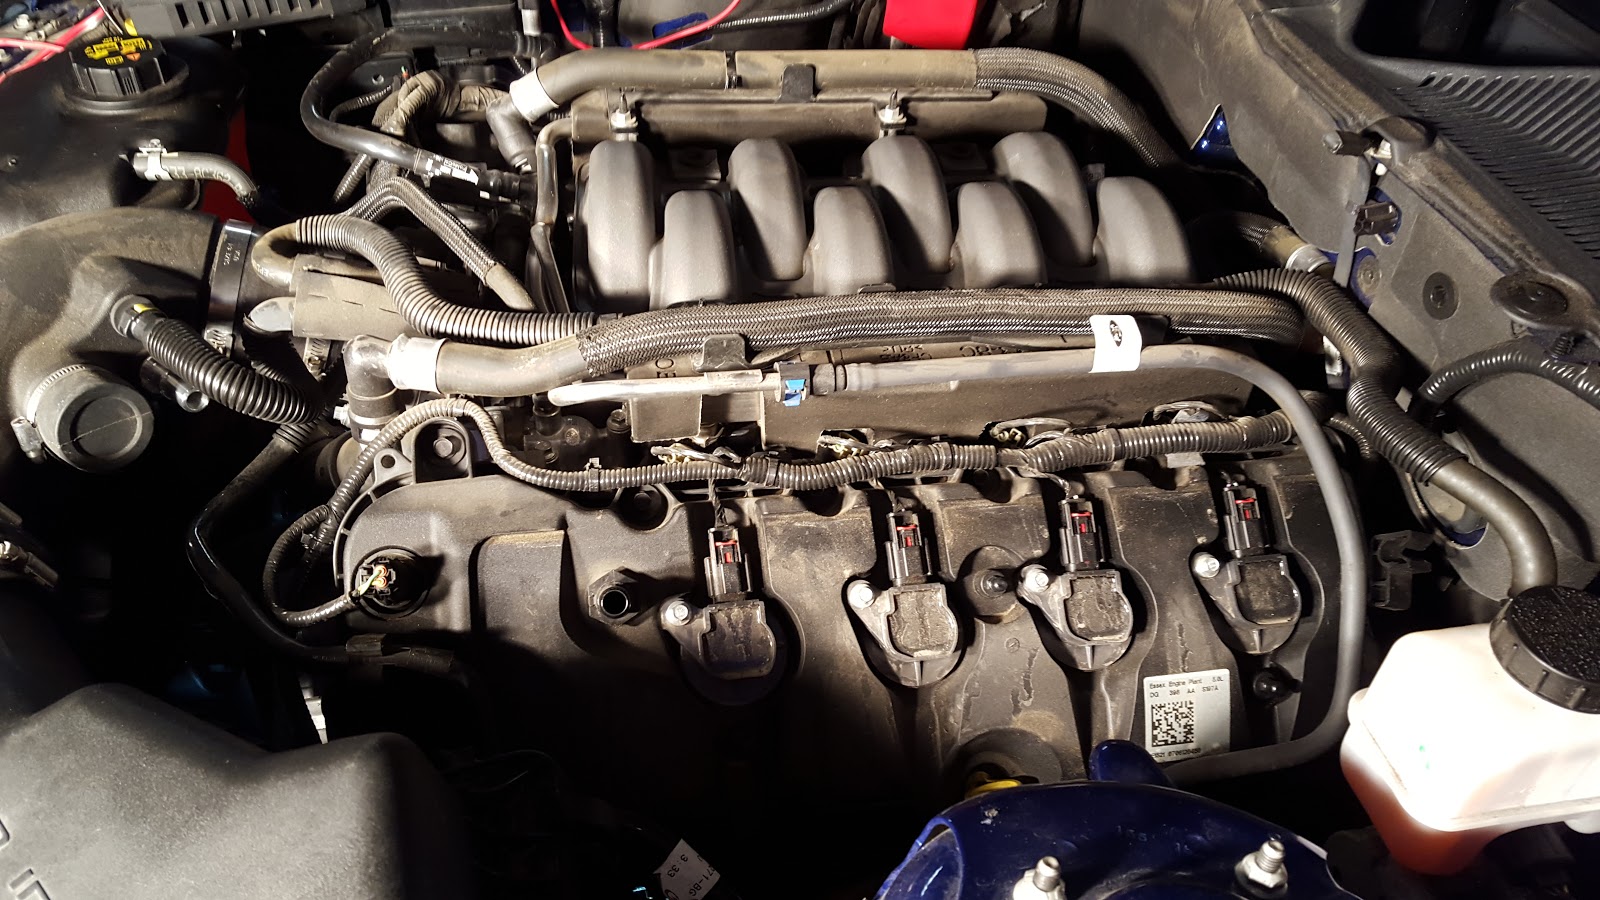
Now on to the front of the car.  The front is a lot more involved, as you cannot simply remove the springs like you can in the rear.  The front springs must be compressed and removed, either with a spring compressor, or the weight of the car and a jack.  Personally, I am not a fan of spring compressors, and chose to use latter method.

Pre-drop height

Wheel Off, now the fun begins

Removing the strut bolts to begin the process

Another shot

One of the many challenges nobody talks about, you either need to use an impact, or a specialty nut to successfully back the strut nut, and remove it.  You simply cannot get a wrench or a crow's foot on the strut nut as pictured.

Out with the old, in with the new


The front suspension, torn apart

The SR Performance lowering spring installed on the passenger side

(The Finished Product)

Monday, December 1, 2014

Plastidip in the Right Places

I am working towards making my 2013 Mustang GT look less stock, and more aggressive while keeping the mods tasteful.

One are that stands out are the hood vents.  The 2013 and 2014 Mustang GT received functional vents on the hood.  These vents are color matched to the factory color of the car, and I wanted them to stand out.

If you look closely in this picture, you can see the factory colored vents

I believe in prepping and taking the time to do a job right, so I decided not to paint my vents in place.  I removed them by unbolting 1 metric bolt that can be accessed from underneath the hood.  This is what it looks like with the vent out.

I used Plastidip Black paint, as well as the Plastidip glossifier to finish the job.  It really made the vents stand out, and I am happy with the finished product:

As you can see in this picture, the black vents now stand out from the rest of the car.

Next up, I felt that the factory chrome "Pony" logo on the front Grille was not aggressive, and the chrome color looked cheap.  Here is the best picture I could find of a stock Grille (not mine):


Properly removing the Grille to paint the emblem would require dropping the front clip, so this one I painted in place, but did a good job of masking off the surrounding parts.  The result is a semi-gloss pony, and I think a more aggressive front end.

Finally, I decided to match the new wheels, the 5.0 emblems should also be black, not chrome:

To accomplish this, I simply masked off the emblem, as well as the red dot in the center of the emblem, and sprayed each logo with Plastidip Black along with two coats of Glossifier.  Below is the result:


The logos need some minor touch ups, but othersie look great with the new AMR wheels!


New Wheels on a Budget


One of my least favorite aspects of my 2013 Mustang GT is the wheels.  I really like the American Muscle / SVE drift style wheels, and have been watching for a deal on them.  Although I like the look of 19" wheels, I don't want to add rotating mass to my car.  Also, I would like to still run the factory tires, as they only have 8,000 miles on them.  For these reasons, I decided to look at 18x9" AMR wheels.

An AMR 18x9" wheel from www.americanmuscle.com


American Muscle ran a special on 18x9" wheels for $69.99 a piece SHIPPED.  Regular price on them is $179.99, and the cheapest I had ever seen them prior was $149.99.  I pulled the trigger, and immediately their status switched to "Sold Out".  I worried that it was a pricing mistake and I would not get the wheels, however the following week they arrived!


It has become obvious that the car needs to be lowered, specifically in the rear.  However, I am very happy with the new wheels, and they have changed the look of the car to be much more aggressive.

My New Racing Platform - A 2013 Mustang GT


After owning two project cars that never made it out of the project phase, I decided that working from 10 pm to 2 am on a project was no longer making me happy.  I sold my 1989 Iroc Z Camaro, and decided to purchase a "finished" newer muscle car that could be daily driven more often than a project car.  Below you can see the criteria I used to select a 2011-2014 Mustang GT, specifically a 2013 Mustang GT Premium A6.


Engine - 
302 cubic inch "Coyote" Modular Engine
Fuel injection w/ Fly by Wire throttlebody
Aluminum block
11:1 compression
420 horsepower @ 6500 rpm, 390 ft lb @ 4250 rpm

Cylinder Heads -
The cylinder heads on the "Coyote" engine are simply amazing, and are a big reason this engine makes the power it makes from a 302 cubic inch platform.  They are aluminum and feature 4 valves per cylinder, and dual overhead camshafts.

Stock Ford "Coyote" Flow #'s:
(Lift, Intake, Exhaust)
.100 99 72.2
.200 180.2 147.8
.300 243.5 180
.400 280.0 189.7
.500 289.4 201.4
.600 298.4 202.1

Weight -
The 2011-2014 Mustang GT weighs significantly less than the Camaro SS and the Challenger SRT8.
  • 2013 Mustang GT Curb Weight - 3,580 lbs
  • 2010 Camaro SS Curb Weight - 3,894 lbs (+344 lbs)
  • 2007 Challenger SRT8 Curb Weight - 4,150 lbs (+570 lbs)
Gauges

The 2013 Mustang GT has all the gauges an enthusiast could want.
  • Speedometer
  • Tachometer
  • Oil Temperature
  • Oil Pressure
  • Air/Fuel Ratio
  • Inlet Air Temperature
  • Transmission 
Track Apps
  •  (0-60, 0-100, 60-0, 100-0, 1/8 mile, 1/4 mile, G-force Sensor)
This blog will follow the process of modding and enjoying my new toy

Sunday, November 30, 2014

2011-2014 Coyote - Best CAI Solution? Airaid Modular Intake Tube is Worth Considering

Traditional bolt on knowledge states that a cold air intake should be at the top of any enthusiast's list of engine mods.

However, after much research, I quickly discovered that many high horsepower 5.0 Coyote builds still run the factory cold air box.  Most aftermarket cold air intakes require a retune, and there is not really any concrete evidence that the CAI itself actually adds additional horsepower.

The Factory Cold Air Setup

The Airaid Modular Intake Tube (MIT) is a relatively new product.  It reuses the factory cold air box and filter, and removes the silencer from the stock intake setup.

The Factory Intake Tube and Silencer removed from the Engine Bay

Another Shot of the Stock Intake Tube and the Sound Experience Tube Deleted


The Finished Install of the Airaid MIT - Very Clean in My Opinion

One More Pic - The Sound Experience Tube Delete Really Cleans up the Engine Bay

Finally, I Replaced the Stock Paper Filter with a K&N


Overall I am very happy with the installation.  It cleans up the engine bay, doesn't require a retune, removes the sound experience tube, and removes the factory silencer.  Best of all, the factory cold air box is not at risk of sucking in water that leaks through the 13/14 hood vents.